![Mermaid Tail - Progress 12 Border Opening BACK-[Heading]-AuntyNise_com](http://auntynise.com/wp-content/uploads/2016/02/MermaidTail-Progress12BorderOpeningBACK-INSTAGRAM-AuntyNise_com-300x200.png)
I’m so excited to share my Mermaid Tail Afghan I made. The original pattern (below in medium size) is by Nadia Fuad, from YarnUtopia. There are Small, Medium & Large Sizes on her website.
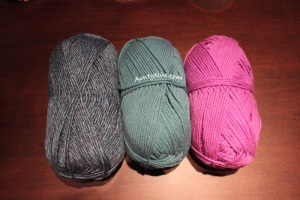
These are the 3 colours of yarn that I chose – 1 shimmery yarn and 2 slightly shiny solid colours.
Click the thumbnail photos below to enlarge.
-
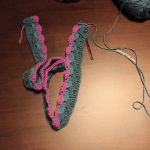
-
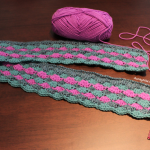
1st progress shot of my mermaid tail afghan.
-
-
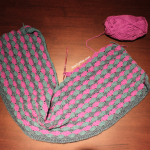
2nd progress shot of my mermaid tail afghan.
-
-
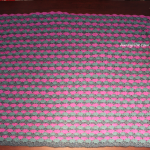
3rd progress shot of my mermaid tail afghan. It’s coming alive now.
-
-
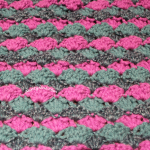
4th progress shot of my mermaid tail afghan.The Main body of the Tail is done!
-
-
Close-up of the finished main body of the Mermaid Tail Afghan/Blanket.
-
-
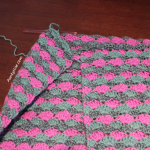
Full Main Piece Crocheted, and now I’m joining in the round.
-
-
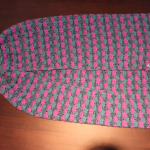
Added Crown of the afghan. Back side of the work.
-
-
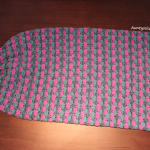
Added Crown of the afghan. Front side of the work.
-
-
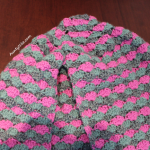
Close-up of crown/top of the mermaid tail main body.
-
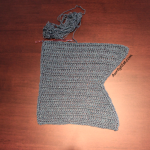
-
Progress on the fin of the tail. Flat work, ready to be shaped.
-
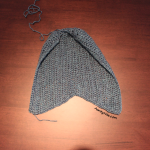
-
Progress on the fin of the tail. Curled up for shape.
-
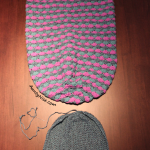
-
Joining the Fin to the main body.
-
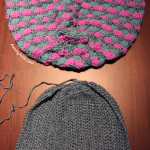
-
Joining the Fit to the main body – CLOSE-UP.
-
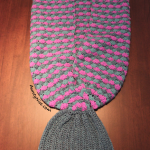
-
Back Side view of the Fin joined to the main body.
-
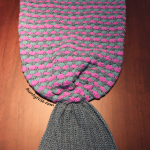
-
Front Side view of the Fin joined to the main body.
-
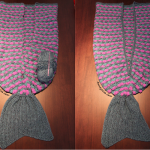
-
The finished Mermaid Tail Afghan. Border added to smooth out edges.
The Pattern for the medium size (which I used) is below.
Medium Size
Ch 153
Row 1: dc in 3rd ch from hook and across, ch 1, turn (150 dc)
Row 2: *sc in first dc, skip 2 dc, 5dc in next st, skip 2 dc, repeat from * across, ch 3, turn (25 shells made)
Row 3: 2dc in same spot you chained up 3, skip 2 dc,* sc in next dc (the middle dc of shell), sk 2 dc, 5dc into sc, repeat from * until you reach the last sc, 3dc in the last dc, ch 1, turn
Row 4: Sc in first dc, skip 2 dc, *5 dc into sc, skip 2 dc, sc in next dc, skip 2 dc, repeat from *, ending with a sc in the beginning ch 3, ch 3 and turn.
Row 5-66: repeat rows 3-4 (Your last row will be a repeat of row 3, so you may need to do an extra row at this point.) If you feel like this is not long enough, or too long, you can add or eliminate rows and just continue to work the next round whichever row you end on. Make sure to end on a repeat row of row 3. The blanket should reach from the top of your hips to right above your ankle at this point. If it does not, make more rows and then go onto the instructions for row 67.
Now you will be connecting and working in the round (continuous circle) I highly suggest watching the video to understand this part.
Round 67: Sc in ch 3 of beginning of row 66 (this completes the circle), *sk 2 dc, 5dc into sc, sk 2 dc, sc in next dc, repeat from *around, ending with sc in 3rd dc of prev row.
Round 68: sk sc from previous rnd and sk 2 dc, sc in middle st of 5dc grouping, *sk 2 dc, sc in next dc, sk 2 dc, 5dc into sc, repeat from *around, ending with Sc2tog into middle of 5dc group from prev. rnd (rnd 67) AND the middle st of 5 dc grouping of rnd 68. (see video to help explain this)
Round 69:5dc in next sc st, sc in the middle of the next 5dc st all the way around, ending with 5 dc in the last sc
Round 70: (dec round) Sc2tog (see Notes), *5dc in next sc, Sc2tog, repeat from * around, ending with Sc2tog
Round 71: *5dc in next sc st, sc in middle st of 5dc grouping, repeat from * around, ending with 5dc grouping
Round 72: *Sc in middle st of 5dc grouping, 5dc in next sc st, repeat from * around, ending with Sc2tog into middle of 5dc gropuing from prev. rnd (rnd 71) AND the middle st of 5 dc grouping of rnd 72. (see video to help explain this)
Round 73: (dec round) *5dc in next sc st, Sc2tog, repeat from * around, ending with 5dc in sc st
Round 74: *Sc in middle st of 5dc grouping, 5dc in next sc st, repeat from * around ending with sc
Round 75: *5dc in next sc st, sc in middle st of 5dc grouping, repeat from * around ending with 5dc in last sc
Round 76: (dec. round) *Sc2tog, 5dc in next sc st, repeat from * around. Sl st to first sc of round. (You should only have 2 shells left, if you have 3 or 4 shells, thats okay too! Fasten off anyway and sew it closed.)
Fasten off with long tail, sew remaining hole closed.
Tail Fin
Row 1: Chain 43, dc in 4th ch from hook and across, ch 2, turn (40dc)
Row 2: Dc2tog, dc in each stitch across, ch 2, Turn (39dc)
Row 3: DC in each stitch until the last 2 sts, dc2tog, ch 2, turn (38)
Row 4-11: repeat row 2 & 3 until you have 30 sts
Row 12: Dc2tog, Dc2tog, dc in each st across, ch 2, turn (28)
Row 13: Dc in each st across until the last 2 sts, 2dc in each of the last 2 sts, ch 2, turn (30)
Row 14: 2dc in first st, dc across, ch 2, turn (31)
Row 15: dc across until the last st, 2 dc in last st, ch 2, turn (32
Rows 16-23: Repeat rows 14 & 15 until you have 40 sts
Row 24: Dc across
Sc around entire tail, put 3 sc in each corner around, once you come back to the beginning do not fasten off, ch 1 and turn so you are working on the flat side of fin (the side edge that is going to be sewed to the tail)
I suggest watching the video to understand this next part.
Row 1: sc2tog across, ch 1 turn
Row 2: sc2tog across, ch 1 turn
Row 3: *sc2tog, sc next, repeat from * across, ch 1 turn
Row 4: *sc2tog, sc in next, repeat from * across,
Fasten off with long tail.
I added a single crochet border around the main body opening, to clean up my edges.
Finishing:
Sew in all loose ends. Enjoy being a mermaid!!
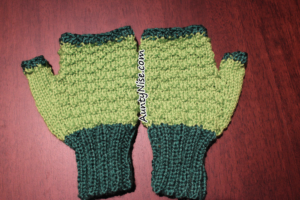 Introducing my new fingerless glove pattern. This is the first time in a very long time, that I’ve made, let alone, created a pattern for a pair of gloves.
![Mermaid Tail - Progress 12 Border Opening BACK-[Heading]-AuntyNise_com](http://auntynise.com/wp-content/uploads/2016/02/MermaidTail-Progress12BorderOpeningBACK-INSTAGRAM-AuntyNise_com-300x200.png)


